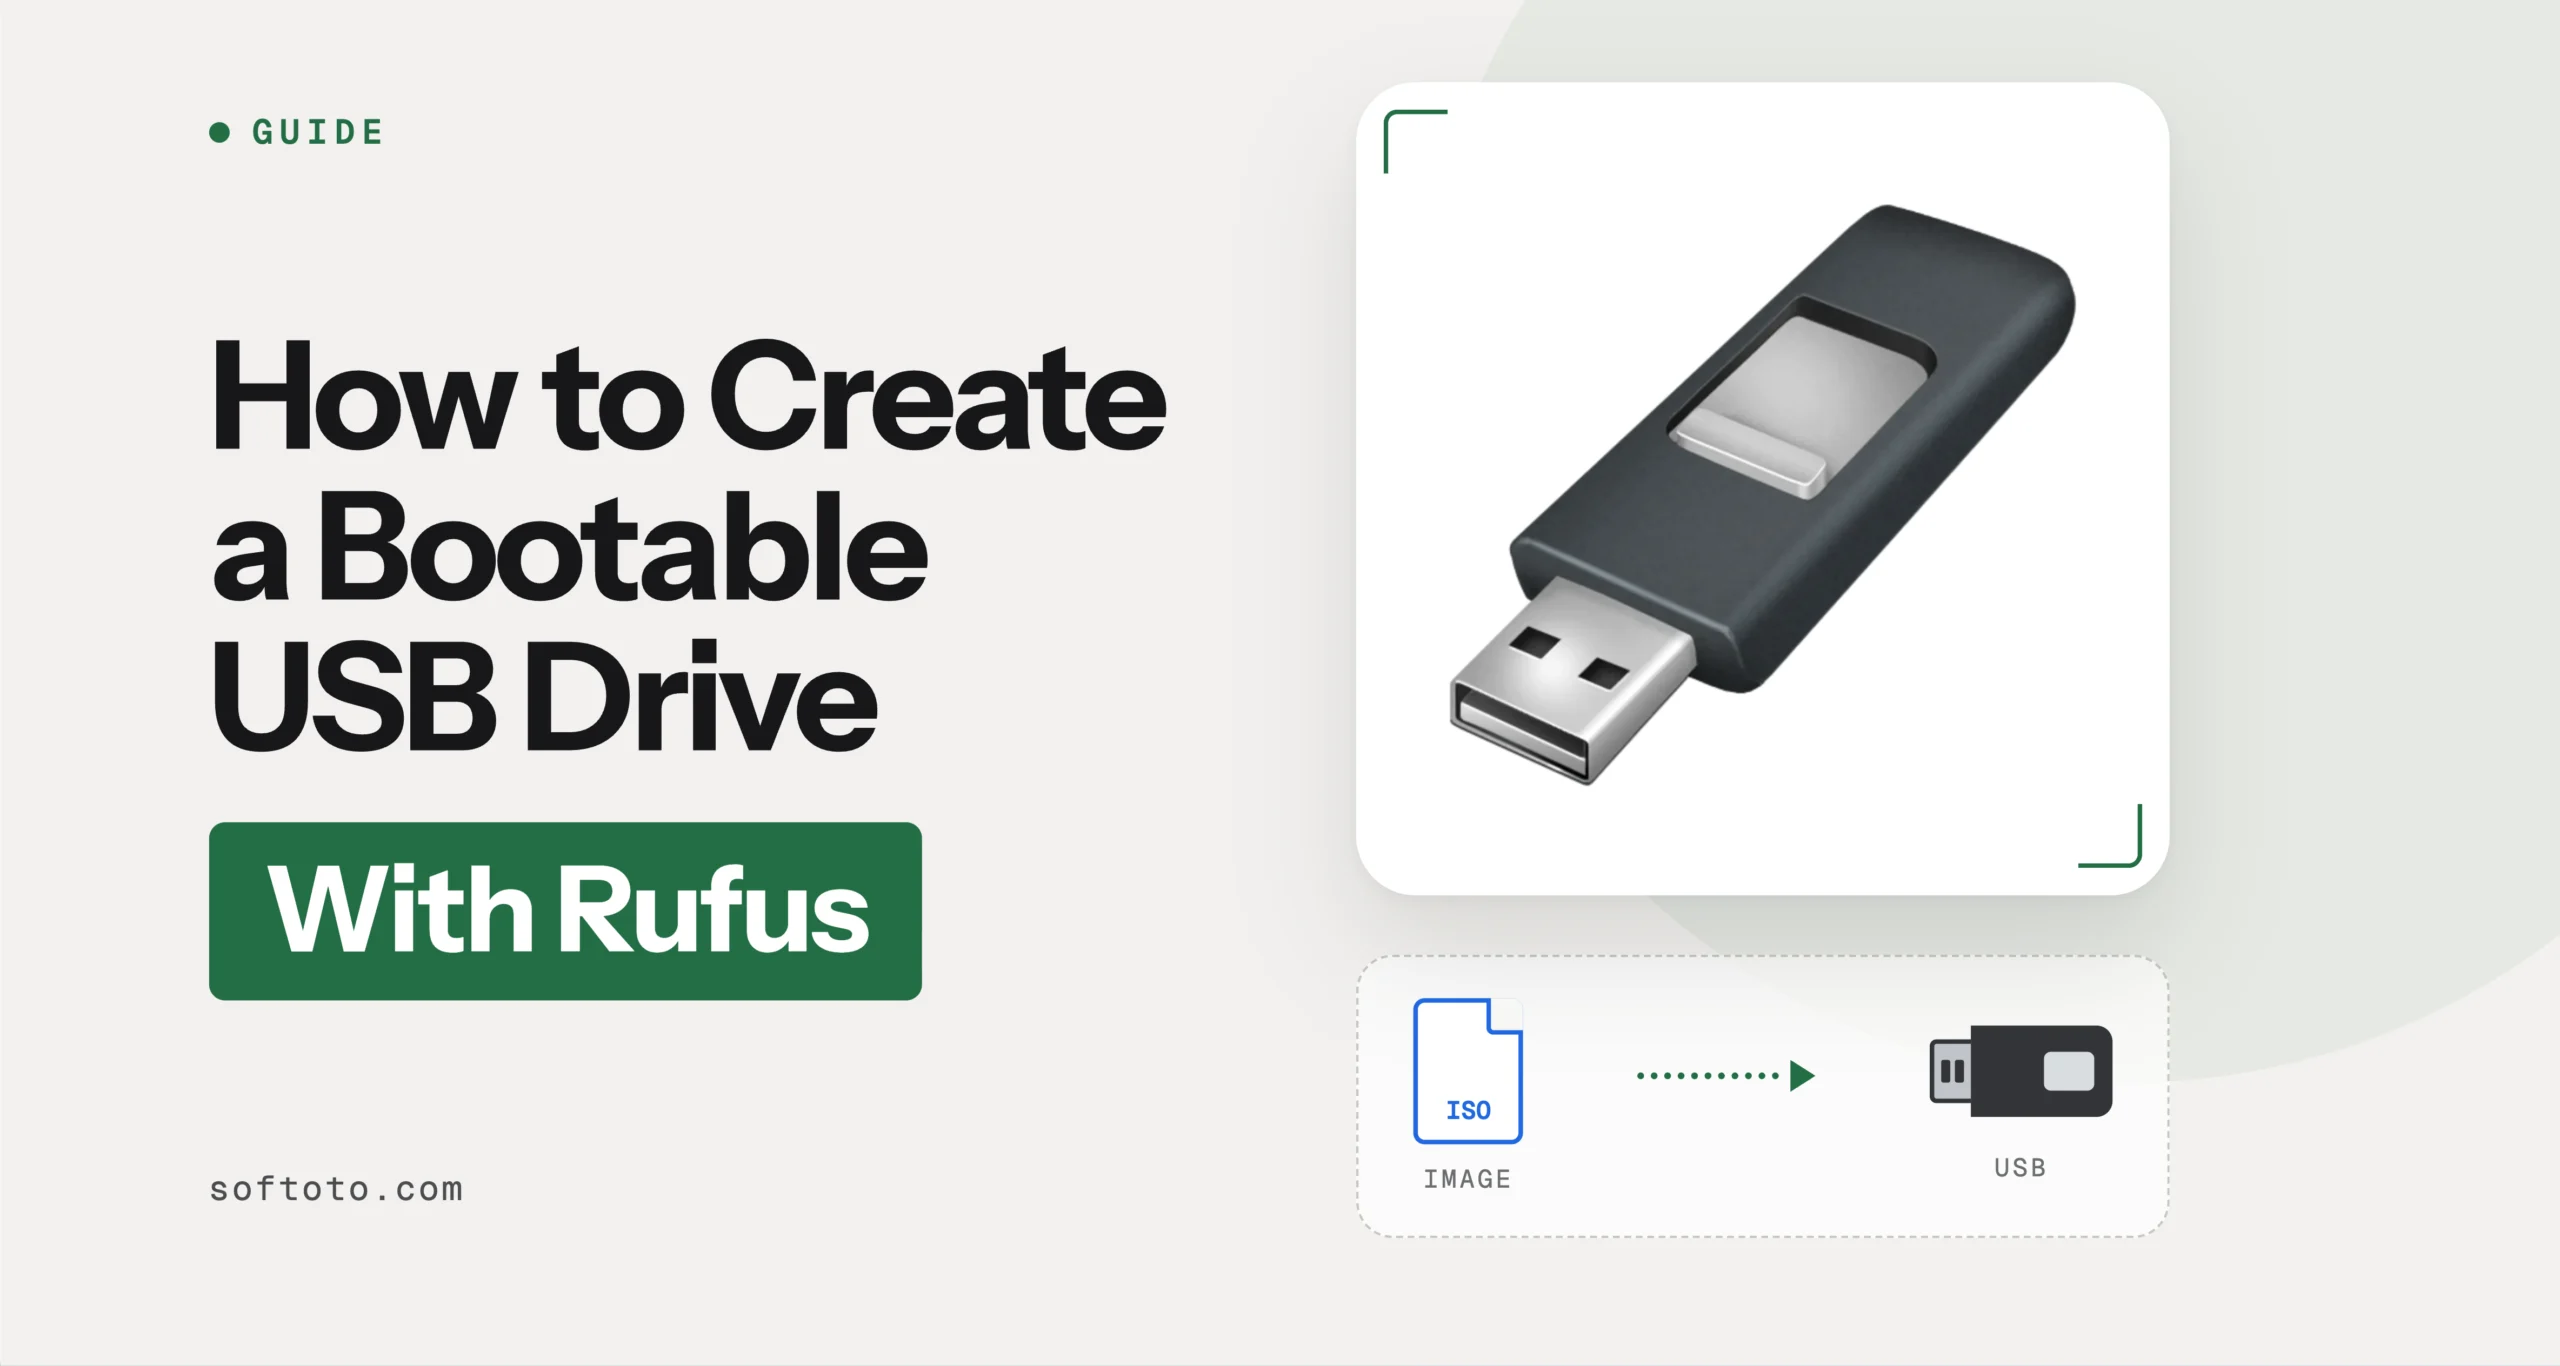
A bootable USB drive is what lets a computer install Windows or Linux without a disc drive, or start a recovery tool when the operating system itself refuses to load. Rufus builds one from an ISO file in about five to ten minutes, and most of that time is the write itself, not the settings. It runs on Windows only and needs no installation. Point it at an ISO for macOS and it will not help; for Windows, Linux, or DOS media, it is one of the fastest tools around.
Before You Start
You need three things: a USB drive with at least 8GB free for a Windows ISO (Linux images can often fit on 4GB), the ISO file for whatever you plan to install or boot, and Rufus itself, which you can grab from Softoto’s Rufus page.
Rufus erases everything on the selected USB drive during this process. Copy off any files you want to keep before you start.
Rufus is portable. Download the executable, double-click it, and the interface opens directly. No setup wizard, no reboot.
One thing worth sorting out before you open Rufus at all: which ISO you actually need. A Windows installer ISO and a Linux distribution ISO behave differently once written, and mixing up a 32-bit build with a 64-bit machine, or grabbing an upgrade-only ISO when a full clean-install image is needed, causes problems that look like a Rufus failure but start well before Rufus gets involved.
Creating the Bootable USB
With the drive plugged in and the ISO downloaded, the process is one pass through Rufus’s main window.
Step 1: Launch Rufus
Windows may ask whether to check for updates on first run; either answer works.
Step 2: Select Your USB Drive
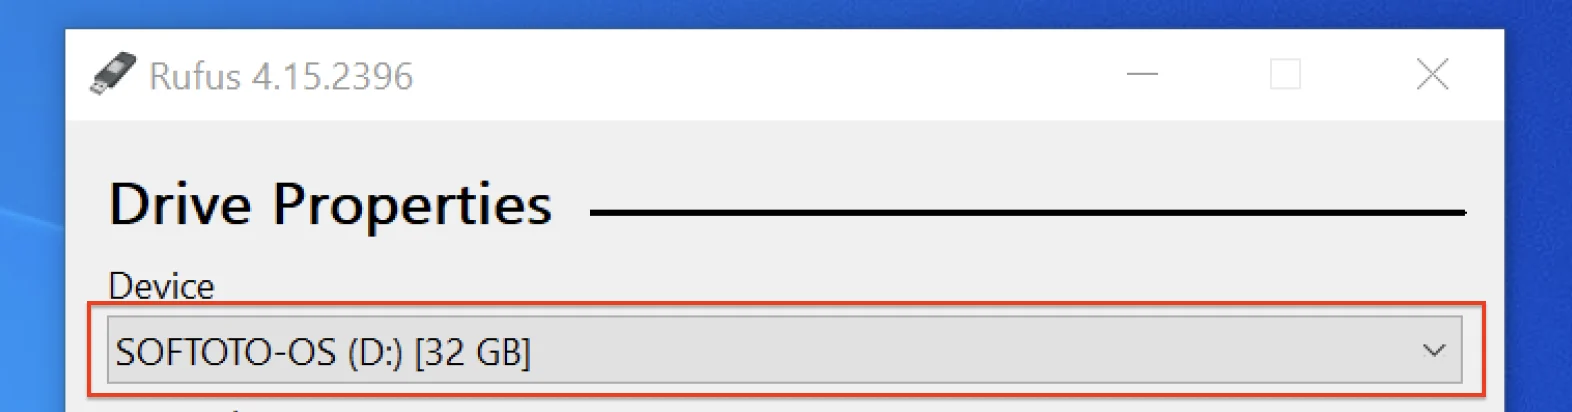
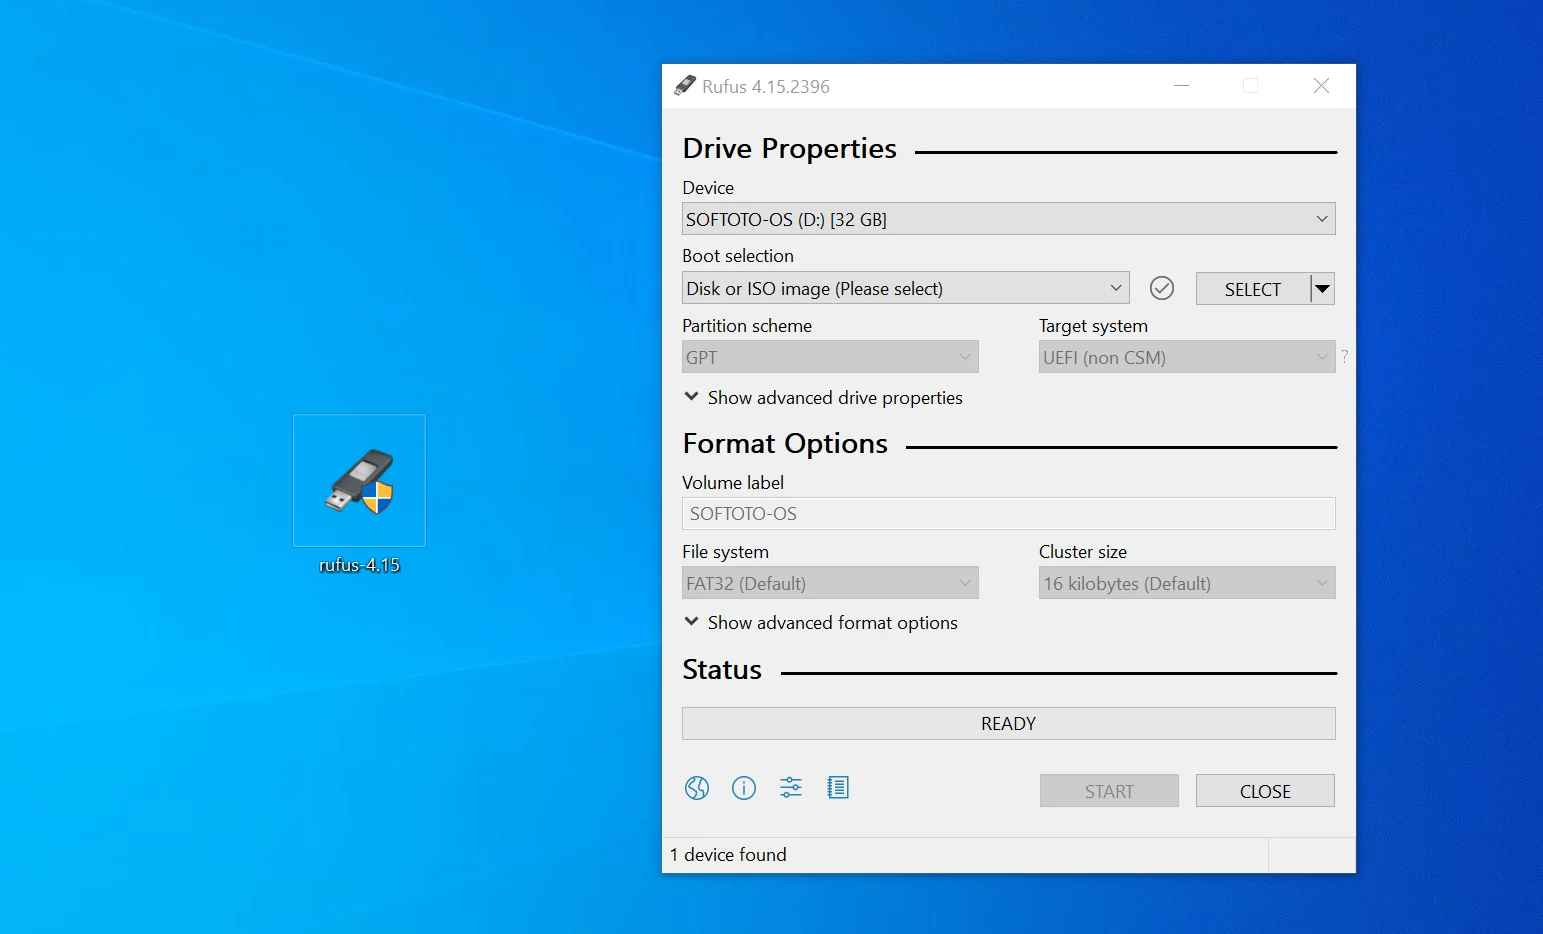
Under “Device,” select your USB drive from the dropdown. Confirm the drive letter and size match the one you plugged in, since Rufus will write to whatever is selected.
Step 3: Select the ISO
Click “Select” next to “Boot selection” and point it at your ISO file.

Step 4: Check the Partition Scheme
This is the step that decides whether the finished drive actually boots, so it earns a moment of thought rather than a guess.
Choose GPT if the target computer boots in UEFI mode — this covers effectively every PC built for Windows 10 or 11 and is the only option Windows 11 setup accepts.Choose MBR only for older machines running in legacy BIOS mode.

Rufus usually preselects the right one once you pick the ISO; override it only if you know the target machine’s firmware mode differs from what Rufus assumes.
Step 5: Leave File System on Default
Rufus matches it to the ISO automatically. Changing it without a specific reason is how boot failures start.
Step 6: Click StartStep 7: Configure Windows 11 User Experience (if applicable)
If you selected a Windows 11 ISO, a “Windows User Experience” dialog appears here, separate from the main window. You can tick options to:
Remove the 4GB RAM, Secure Boot, and TPM 2.0 requirementsSkip the online Microsoft account requirementSet a local account
Tick what applies, then click “OK.”
Step 8: Confirm the Warning
Confirm that all data on the drive will be destroyed.
Step 9: Wait and Eject
Wait for the status bar to turn green and read “READY,” then safely eject the drive.
The Windows User Experience dialog only shows up after clicking Start, and only for a Windows 11 ISO. It is easy to miss if you are watching the main window instead. On recent Rufus builds the TPM and Secure Boot bypass checkbox has occasionally reappeared on its own after being cleared, so give the dialog a second look before confirming.
Verify It Worked
Plug the drive into the target computer, restart it, and open the boot menu, usually F12, F10, F2, or Esc depending on the manufacturer. The drive should appear by its label, generally matching the ISO name. Select it and the installer or live environment should load within a few seconds. If the machine boots straight into Windows or its existing OS instead, the boot menu selection or the firmware’s boot order needs adjusting, not Rufus.
When It Doesn’t Boot
Two failures account for most of the “it didn’t work” reports, and both trace back to settings covered above rather than a broken drive.
“No bootable device” or “Windows cannot be installed to this disk” almost always means the partition scheme does not match the firmware mode the target machine is actually using. A GPT drive will not boot on a machine running strict legacy BIOS, and an MBR drive will not satisfy a UEFI-only system like a fresh Windows 11 install. Check the target machine’s firmware settings, or its boot menu, for whether it lists the drive under a UEFI entry or a plain BIOS one, then rebuild the USB with the matching scheme.
“Access is denied” or “the device is in use by another process” points to Windows itself, not the drive. Security software on the machine can block Rufus from writing to the USB, particularly features that guard folders or removable drives from unrecognized apps. Temporarily disabling the relevant protection, or adding Rufus as an allowed app, clears it in most cases.
A third, less common cause is the USB drive itself. Cheap or aging flash drives develop bad sectors that write successfully but fail to read back reliably, which shows up as a boot that starts, then hangs or crashes partway through setup. Rufus’s “Advanced Format Options” panel includes a bad block check for exactly this; it adds several minutes to the process but rules the drive out as the cause before you spend more time chasing settings.
If none of that resolves it, try a different USB port, preferably a rear port wired directly to the motherboard on a desktop rather than a front-panel hub, and confirm the ISO file itself is not corrupted or a partial download before writing it again.